
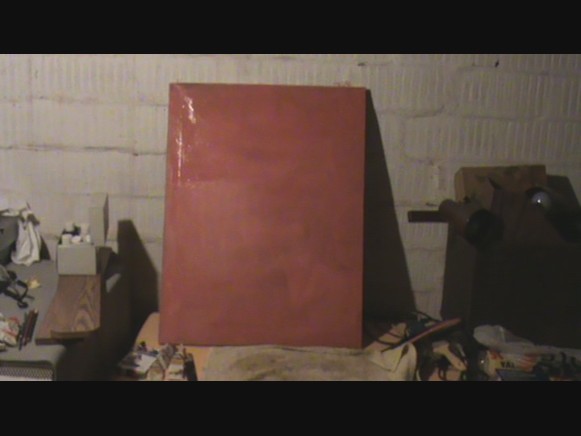
Because I’m a beginner at painting, I’ve decided to start practicing with very basic supplies that are inexpensive. This is the first canvas I’ve ever worked with, a two-dollar find at a local thrift store! I’ve simply painted over the original painting with 2 layers of non-toxic red acrylic paint, and, after just about an hour or so, it’s dry and ready for me to start playing.
You can find canvas at just about any art supply store, and you can buy the canvas already stretched and affixed to a wooden frame, but that can run anywhere from $20 or $30 or more. Lots of people put the canvas and wooden frame together by themselves, but I’m inexperienced and impatient, so I’m quite happy with this perfectly good, ready-to-use canvas.
The original painting on this canvas was a portrait of a creepy little boy, and I was all too happy to cover him up with the red paint. His eyes creeped me out, and I had the picture turned around, facing the wall, so I wouldn’t have to look at his creepy little face!
D. said he could just barely make out the boy’s face after I’d applied the second layer of paint, and only after I told him what the image was, so it remains pretty well hidden.
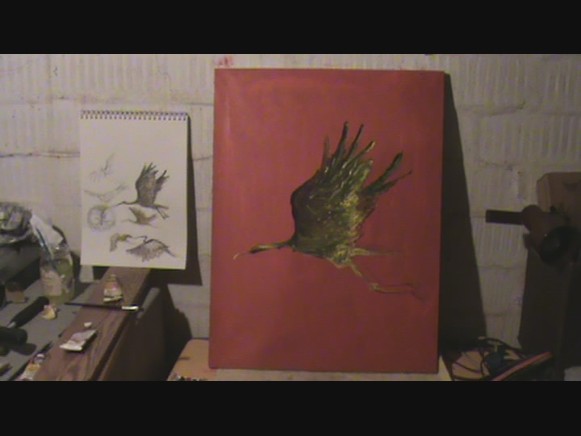
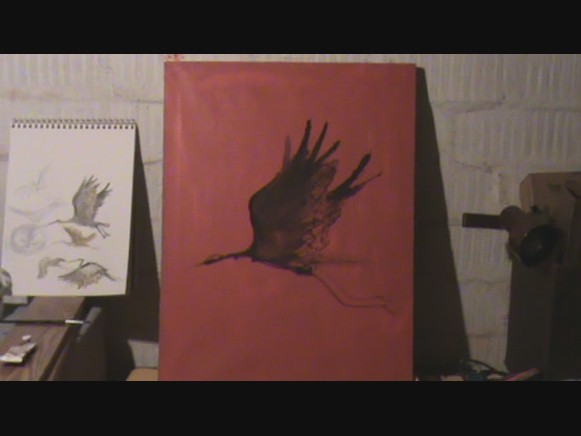
This may or may not be a finished painting, possibly a work in progress, but I’ll leave it alone for a couple days and decide whether I want to add more colors or change it. Right now the painting’s got five layers (besides the creepy little boy underneath!): the red backdrop (2 layers), the black body of the bird, dots of white, and finally yellow.
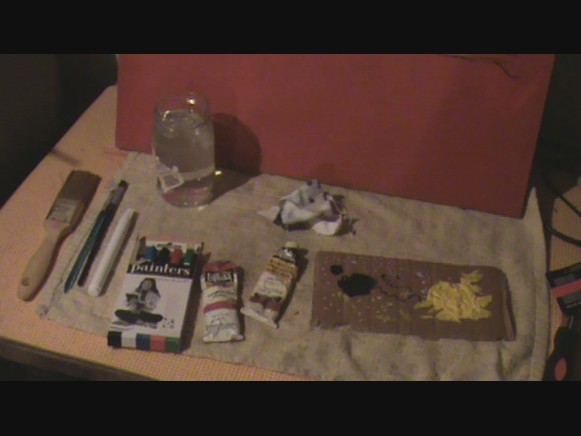
These are all the tools I used, all of it (including the canvas) cost less than about 15 dollars. Pretty simple stuff: all the paints are non-toxic (I don’t like playing with potentially poisonous stuff!), so they’re safe for Steves and kids (just don’t eat them!). You can spend a lot of money on good brushes, but I’m quite happy with these brushes that I found in my old art supply kit. The larger brush is new (maybe $5), and I used a piece of cardboard for mixing colors. I used the cloth to smear colors around on the canvas (so I don’t get too much paint on my fingers), and I keep a glass of tap water nearby for rinsing the brushes.
This is something pretty much anyone can do if you’ve got a little time and 10-20 dollars, and a space where a little paint spilling is not a big deal. I’m doing all this in the basement Arctic Room, so I can be as clumsy as I am and spill paint without care. I even paint on the walls down there! Try it out!
If you want to help me name this bird, post a comment below with your e-mail address and use any name you want.
I’m going to try to post regularly on Tuesdays and Thursdays, and I’ll be trying out some new canvas paintings this week, so please check in if you feel like seeing what’s going on in the Arctic Room! (I may do one or two video posts as well. We’ll see. D. says he’ll play guitar while I paint….. that could be fun!)


Love it! I enjoy acrylics tremendously. They mix well, too – and if you invest in some cheap little jars (make friends with someone who buys baby food!), you can keep the paint you mixed for next time, just-in-case.
Not being a purist, I have never tried stretching my own canvases, but I have on occasion purchased some specialty canvases online when there were VERY good sales – experiment some time with round or oval paintings! Big fun!
I can’t believe you didn’t show us a photo of the creepy little boy, though. 🙁
Thanks for sharing!
Thanks, Alison! I love the idea for little jars, and I’ll bet I can find some.
Sorry no picture of the little boy, but as I said, he was just too creepy!
I’d love to hear some more of your ideas about acrylic paints, ALison, if you care to share them!
Thanks for visiting the blog!
steve
This is a great example. I really like the longer than usual narrative you have added. Do you really want us to name the painting for you? Cool! I think it should be called, ” immersion”.
Thanks for sharing the process of how you do things.
Thanks, Bee! I like the name “immersion”.
(Remember, it might still be a work in progress; for now, though, I’m starting on a new canvas.)
THanks for visiting the blog! I’ll try to continue to share what I discover about painting and colors……… it’s really fun!